Follow the instructions below to How to Create Categories and Products with an Online Store Created in WordPress and WooCommerce?
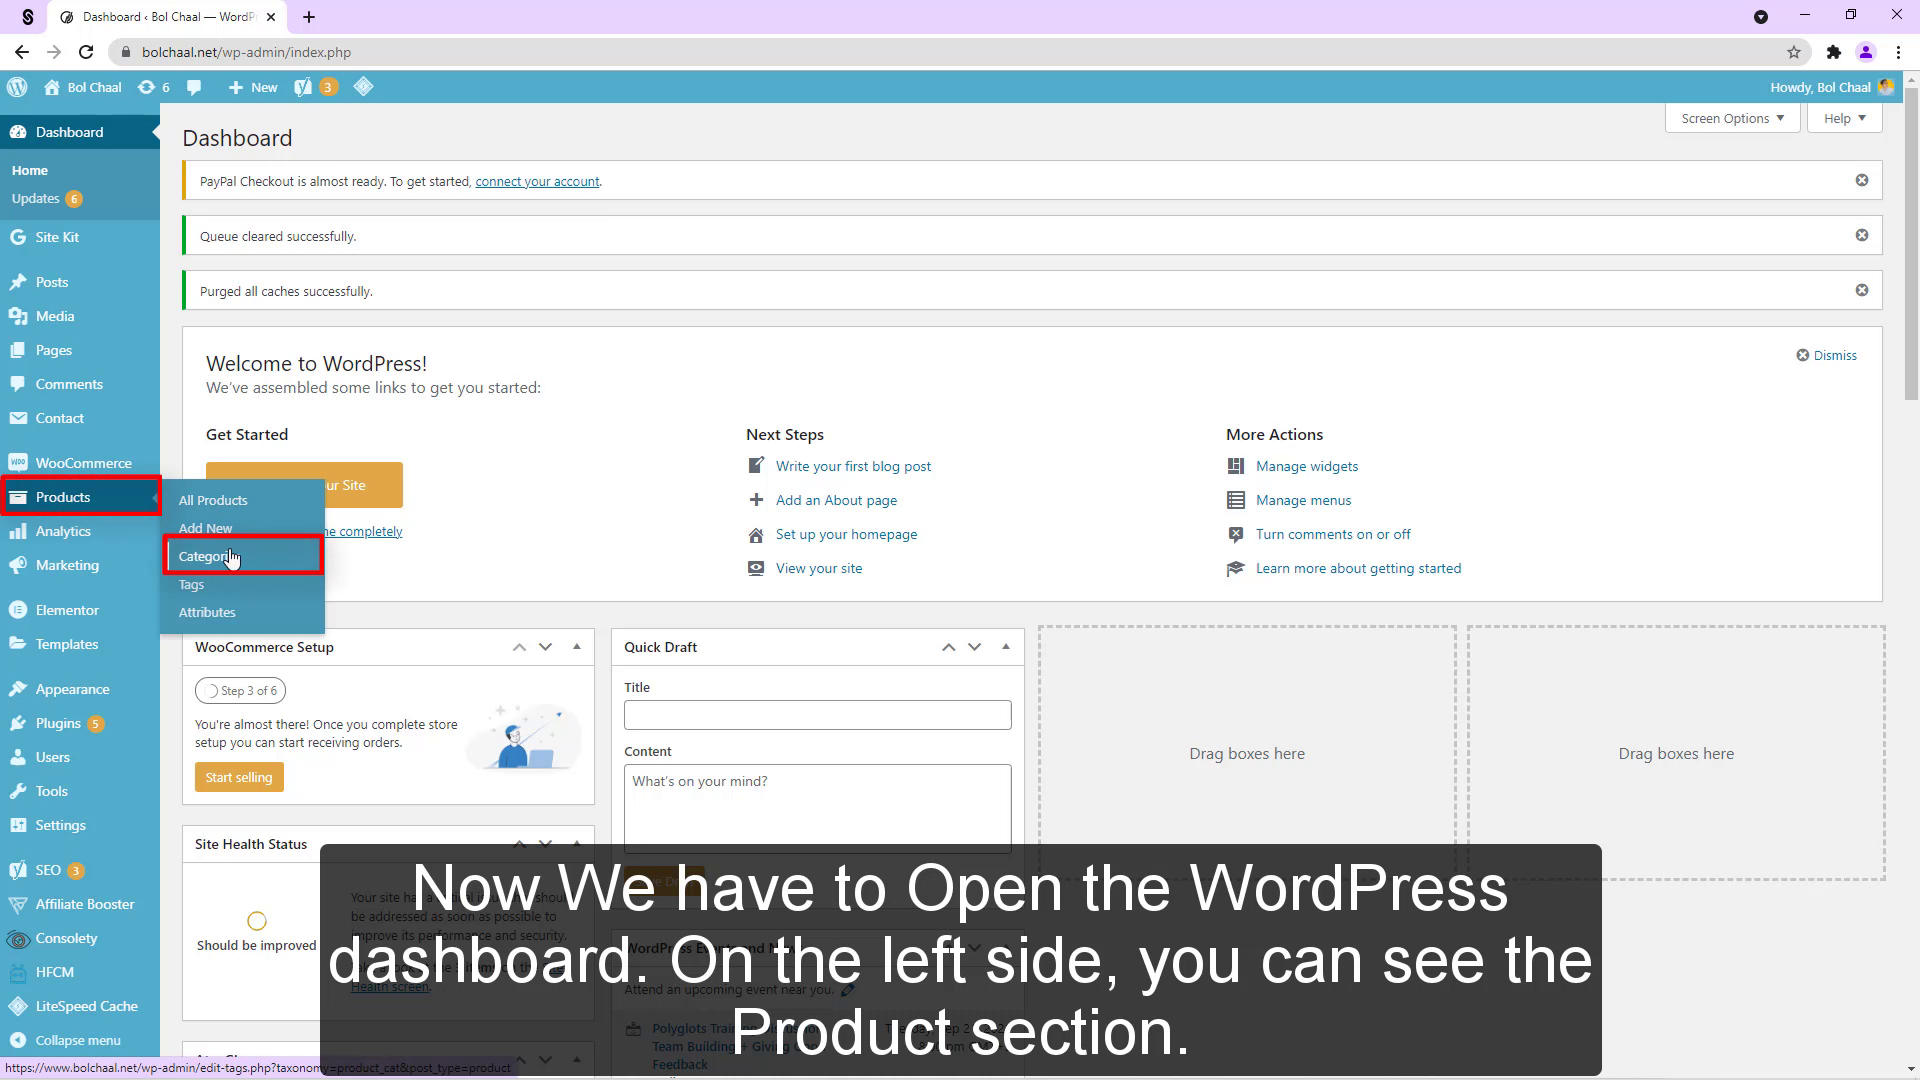
So first we create categories. Now We have to Open the WordPress dashboard. On the left side, you can see the Products section. Then click on the category button.
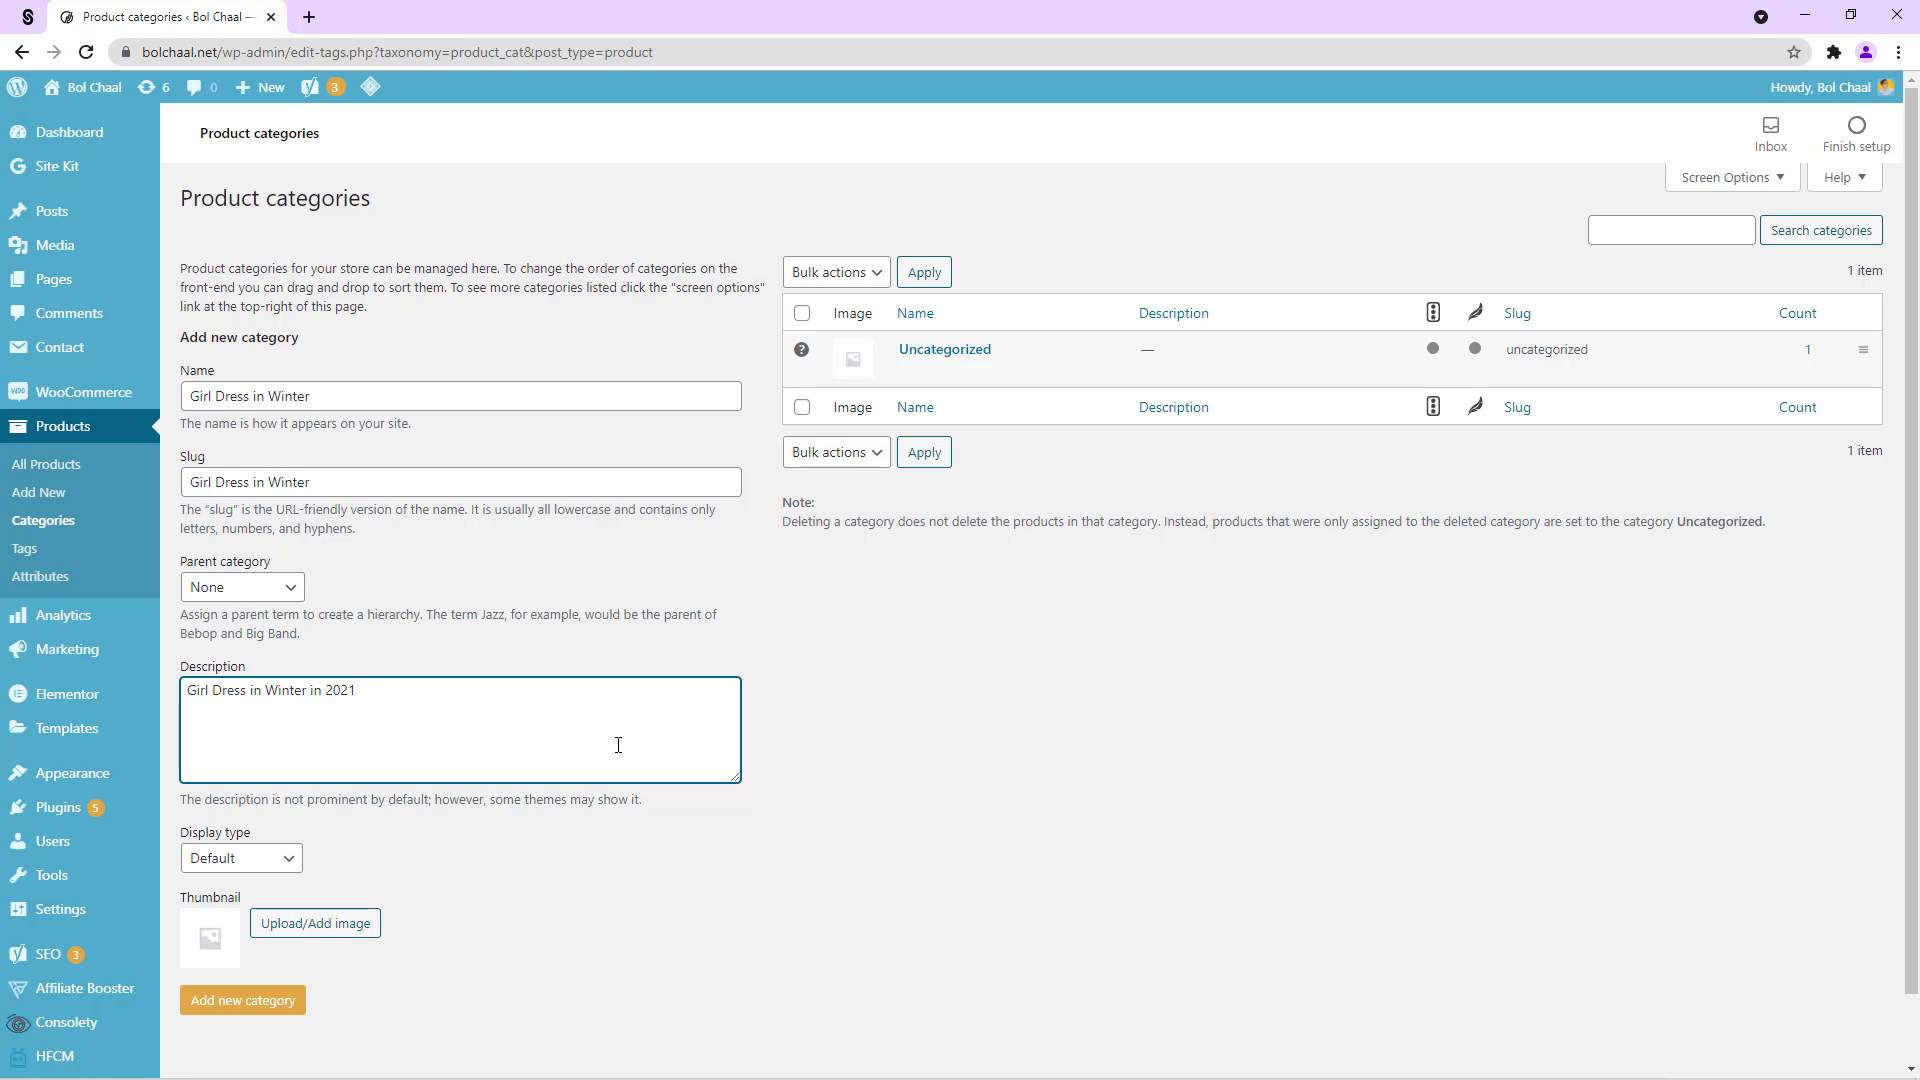
So here we have to add our category according to our products. Here we have to add our category name slug and description. Then simply we have to click on the add new category button. You can also add more categories in the same way.
Next Step:- How to create a product?
First of all, open your WordPress dashboard. Click on the product Section and then click on the create product button. So now here we have to add the product name.
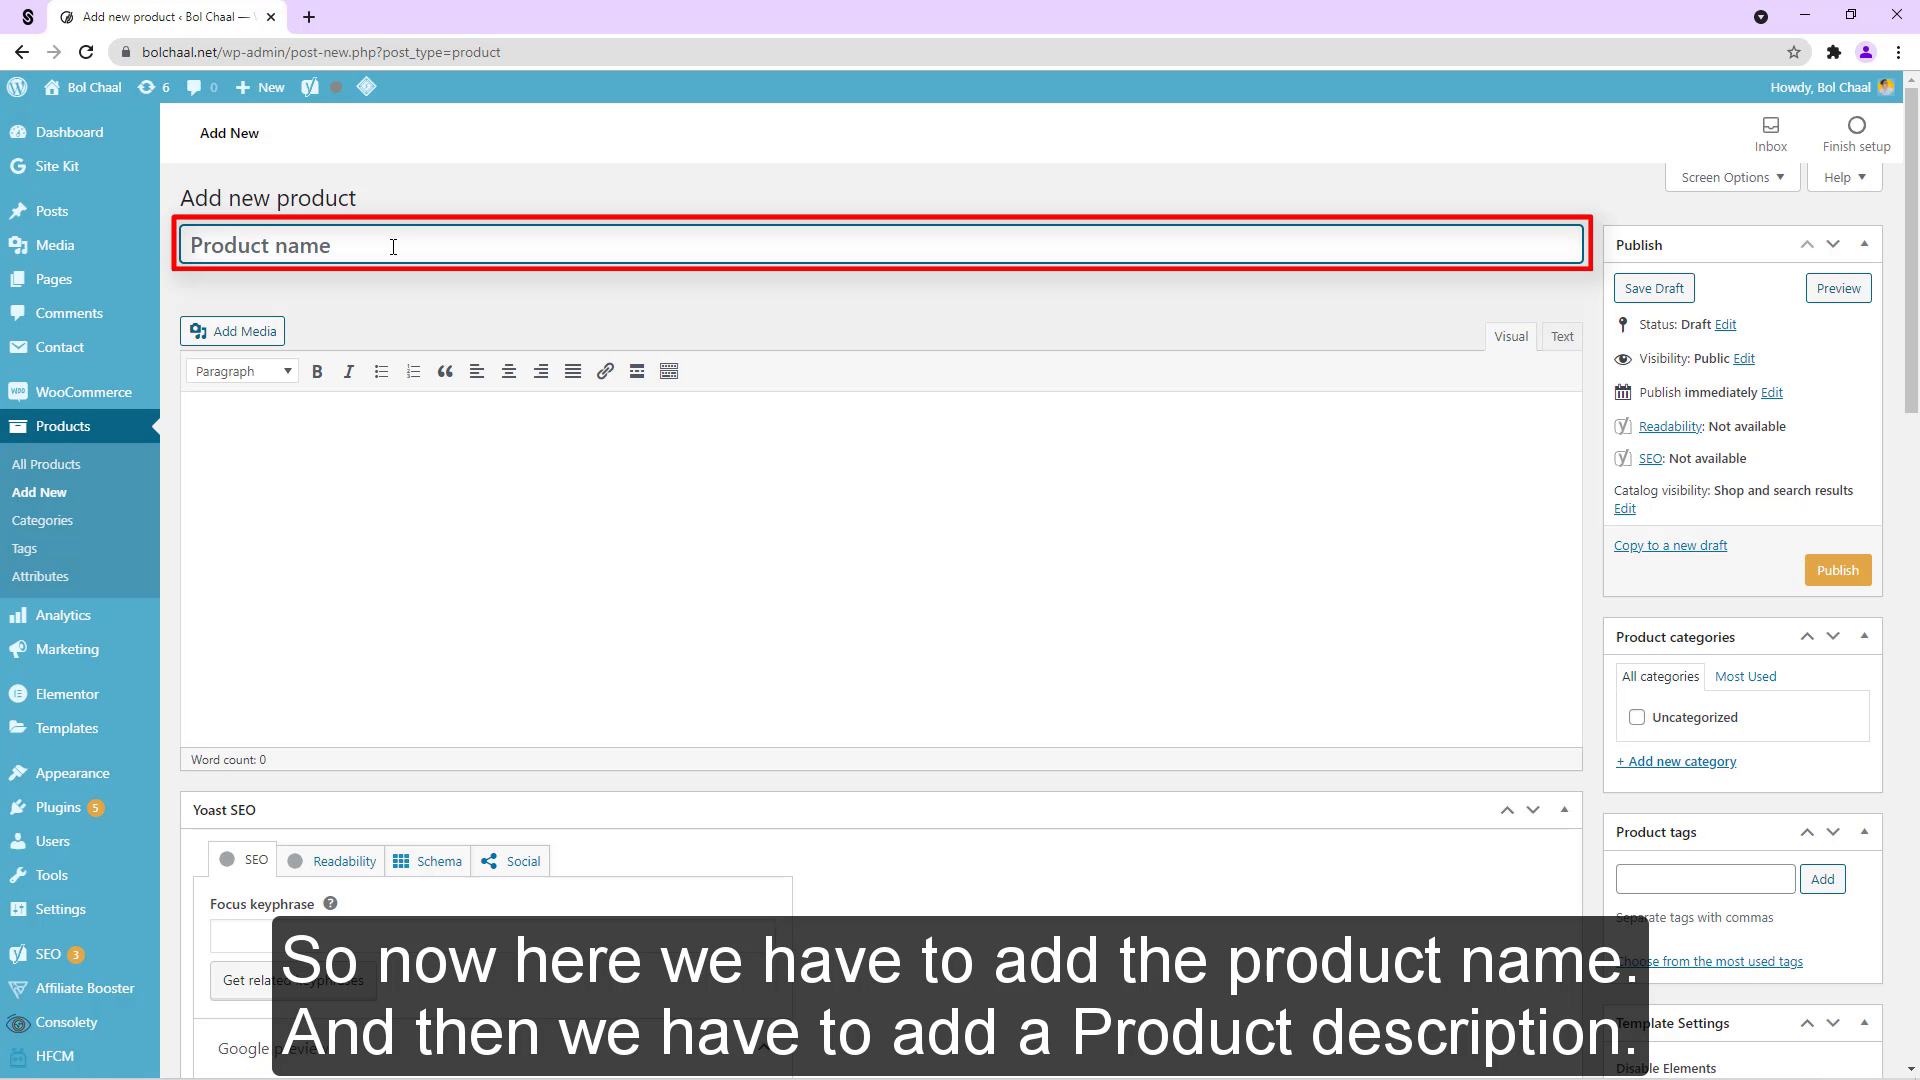
And then we have to add a Product description.
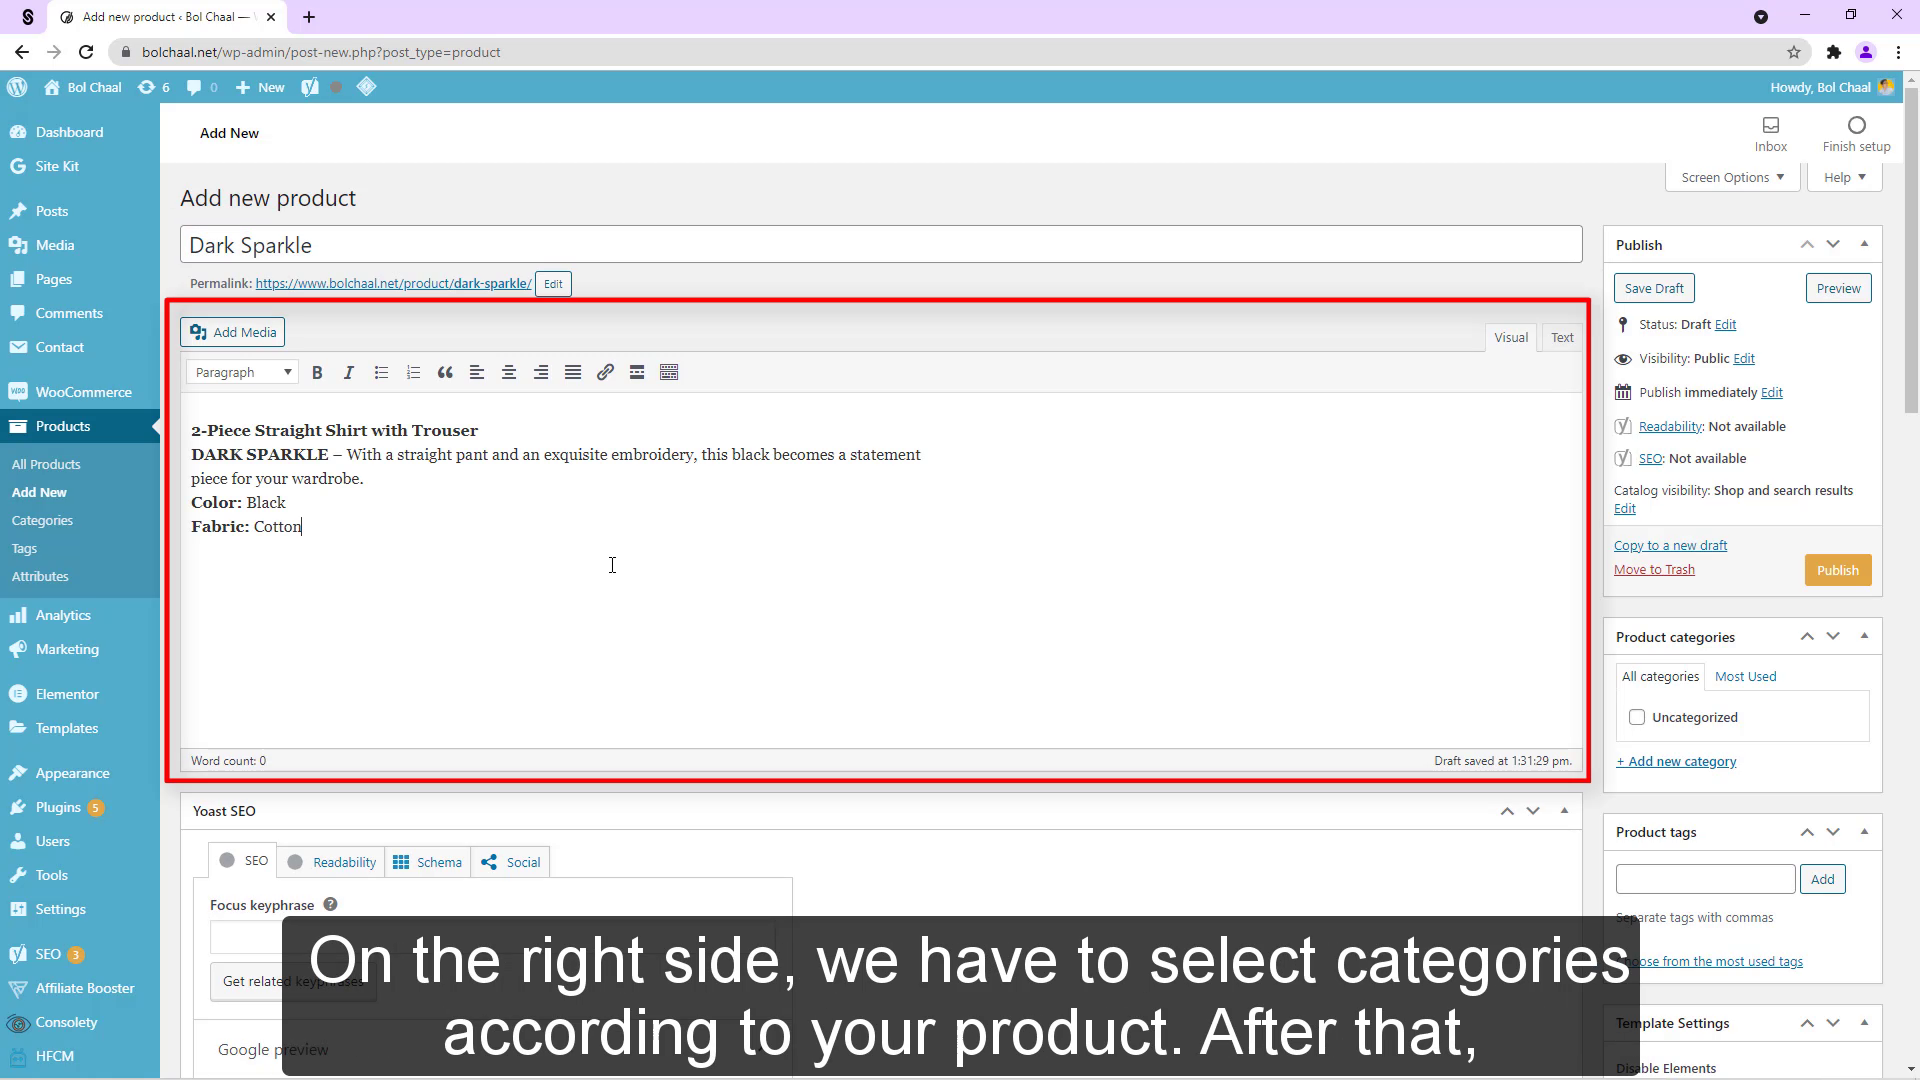
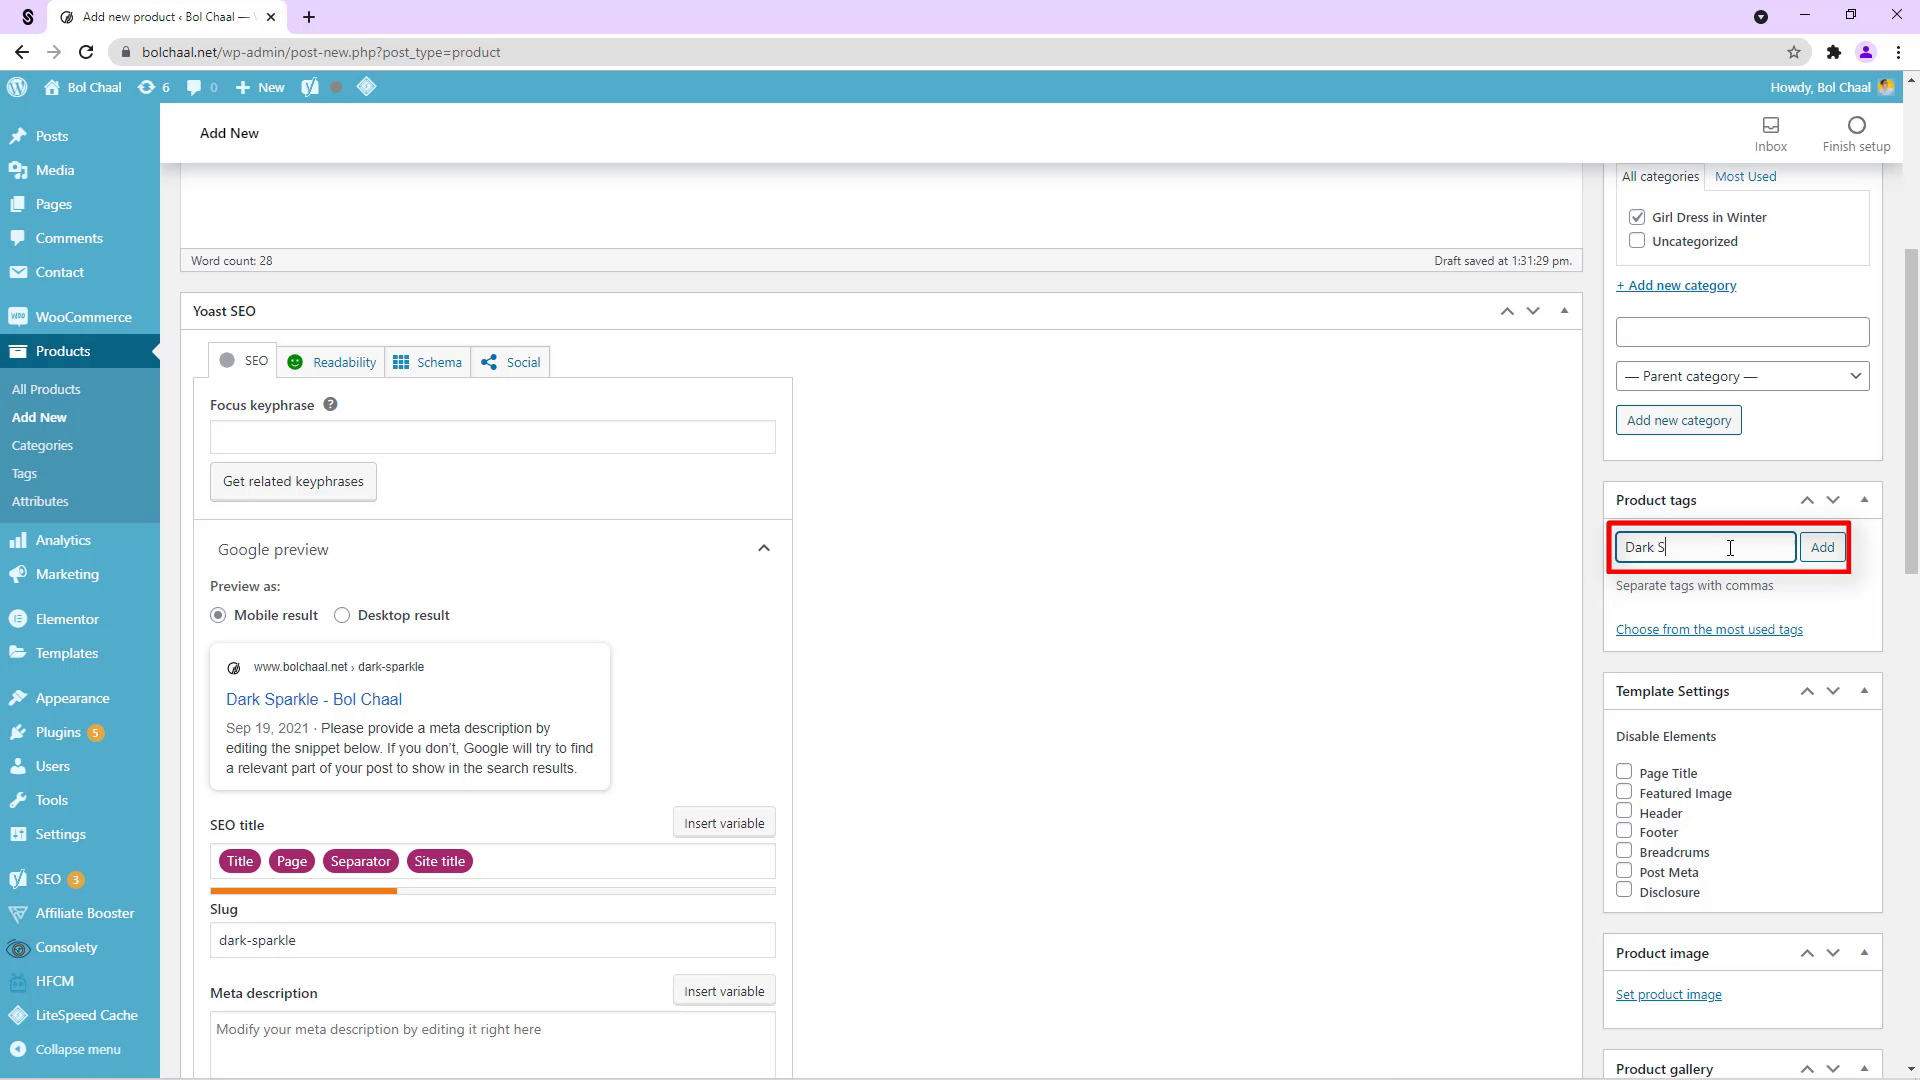
On the right side, we have to select categories according to your product. After that, we have to add product tags.
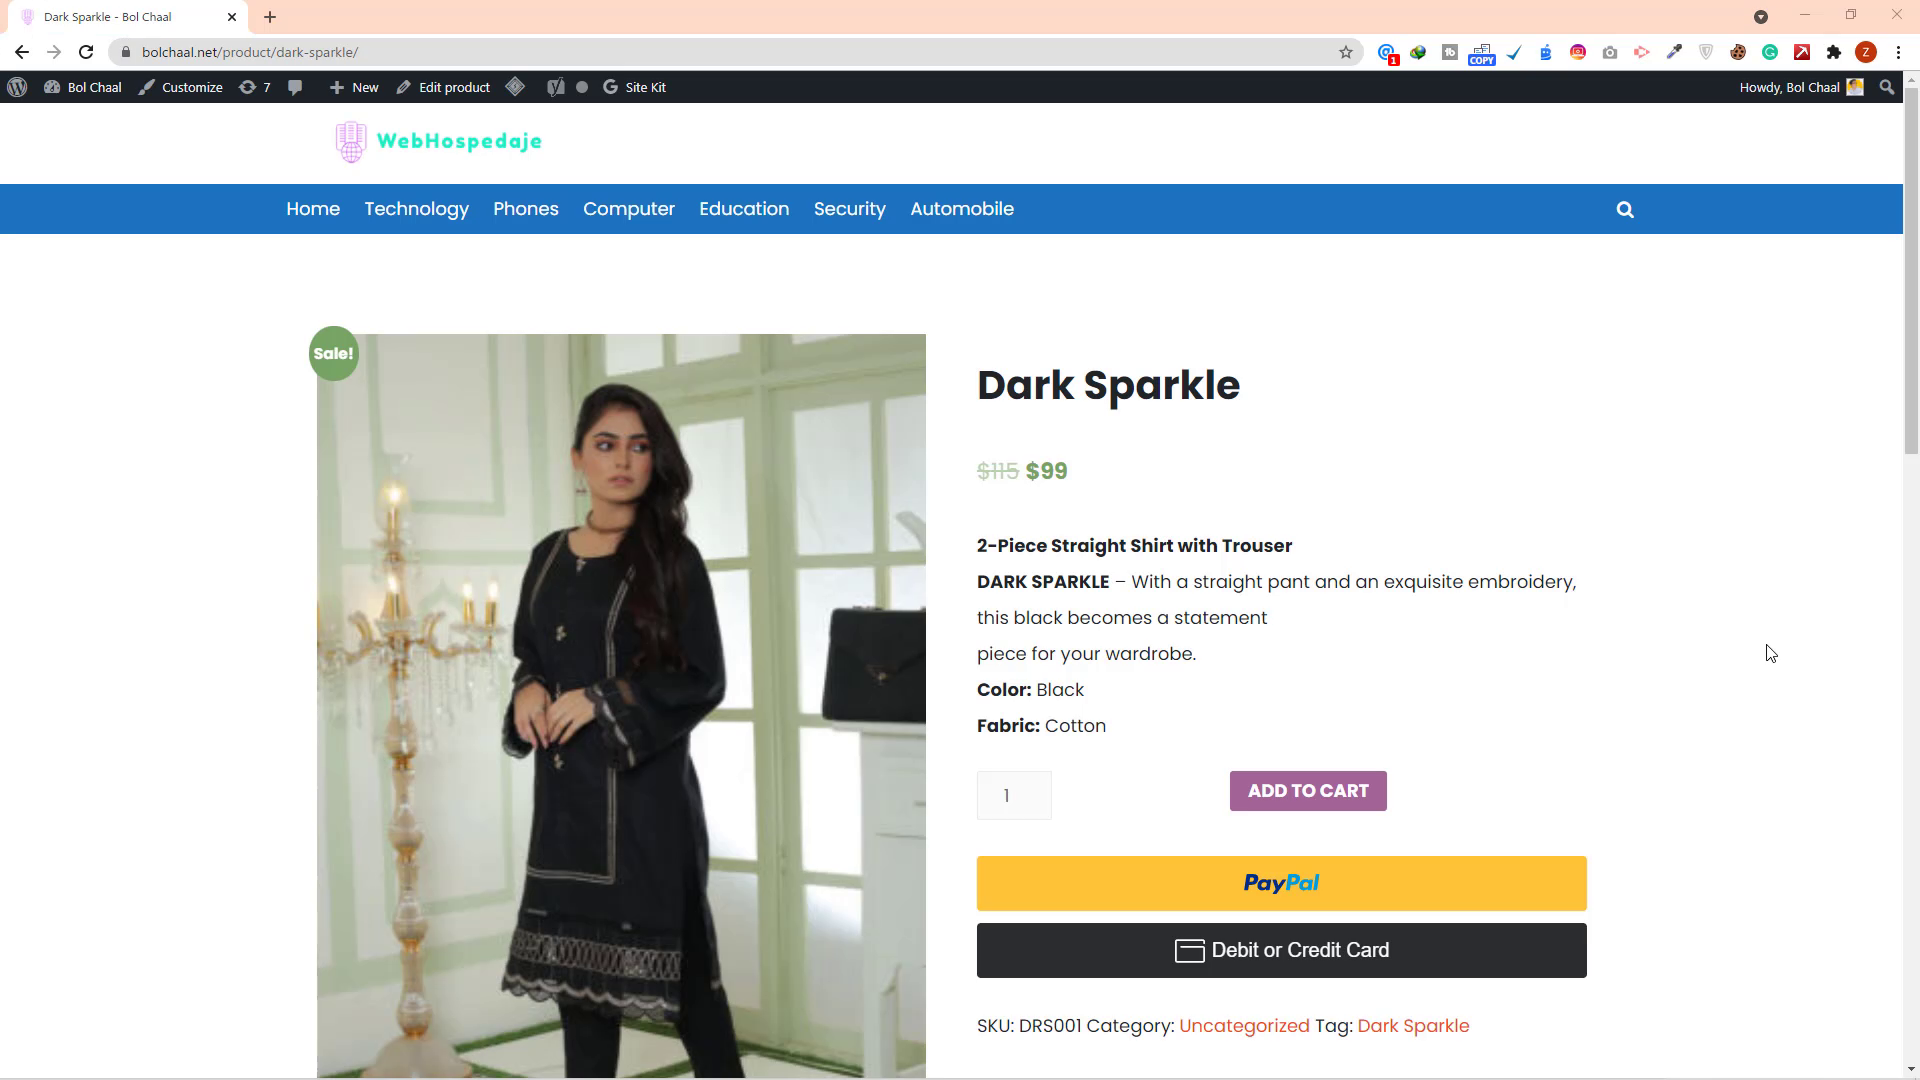
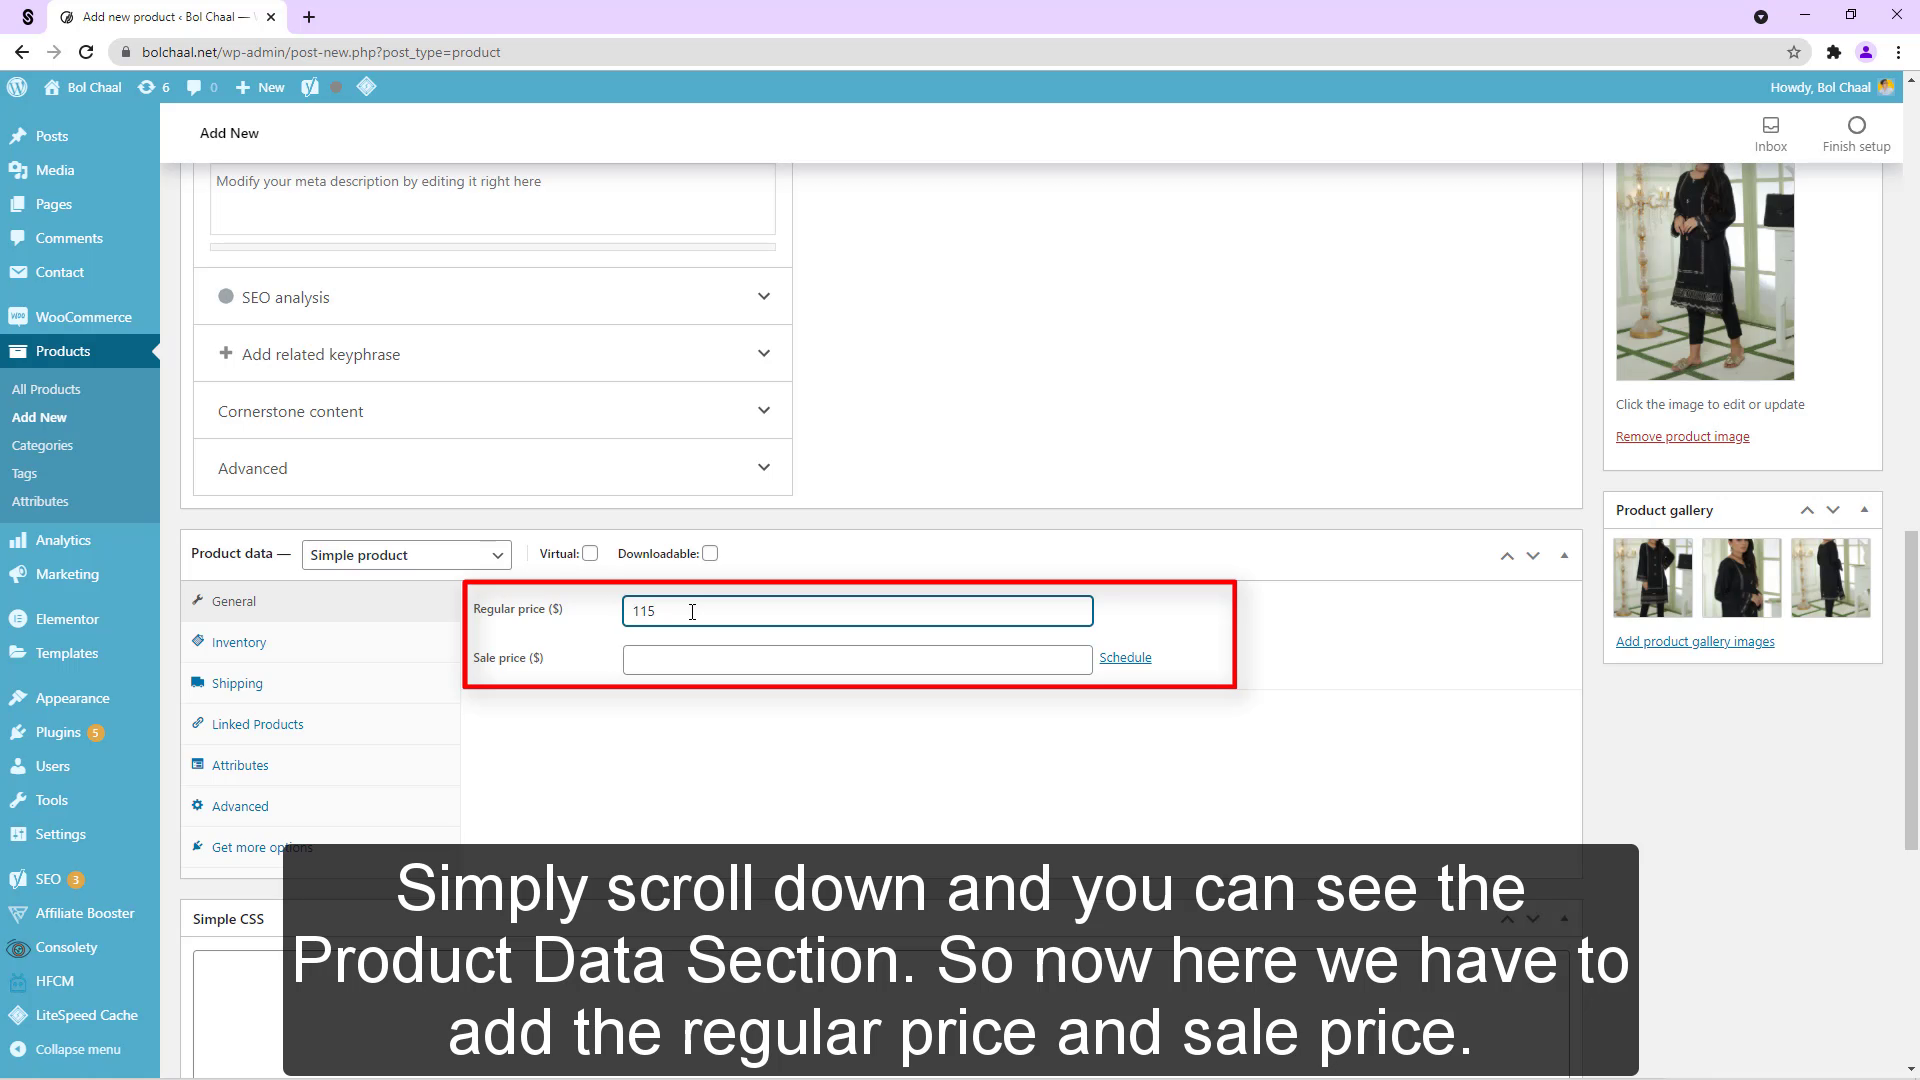
Product image and product Gallery. Simply scroll down and you can see the Product Data Section. So now here we have to add the regular price and sale price.
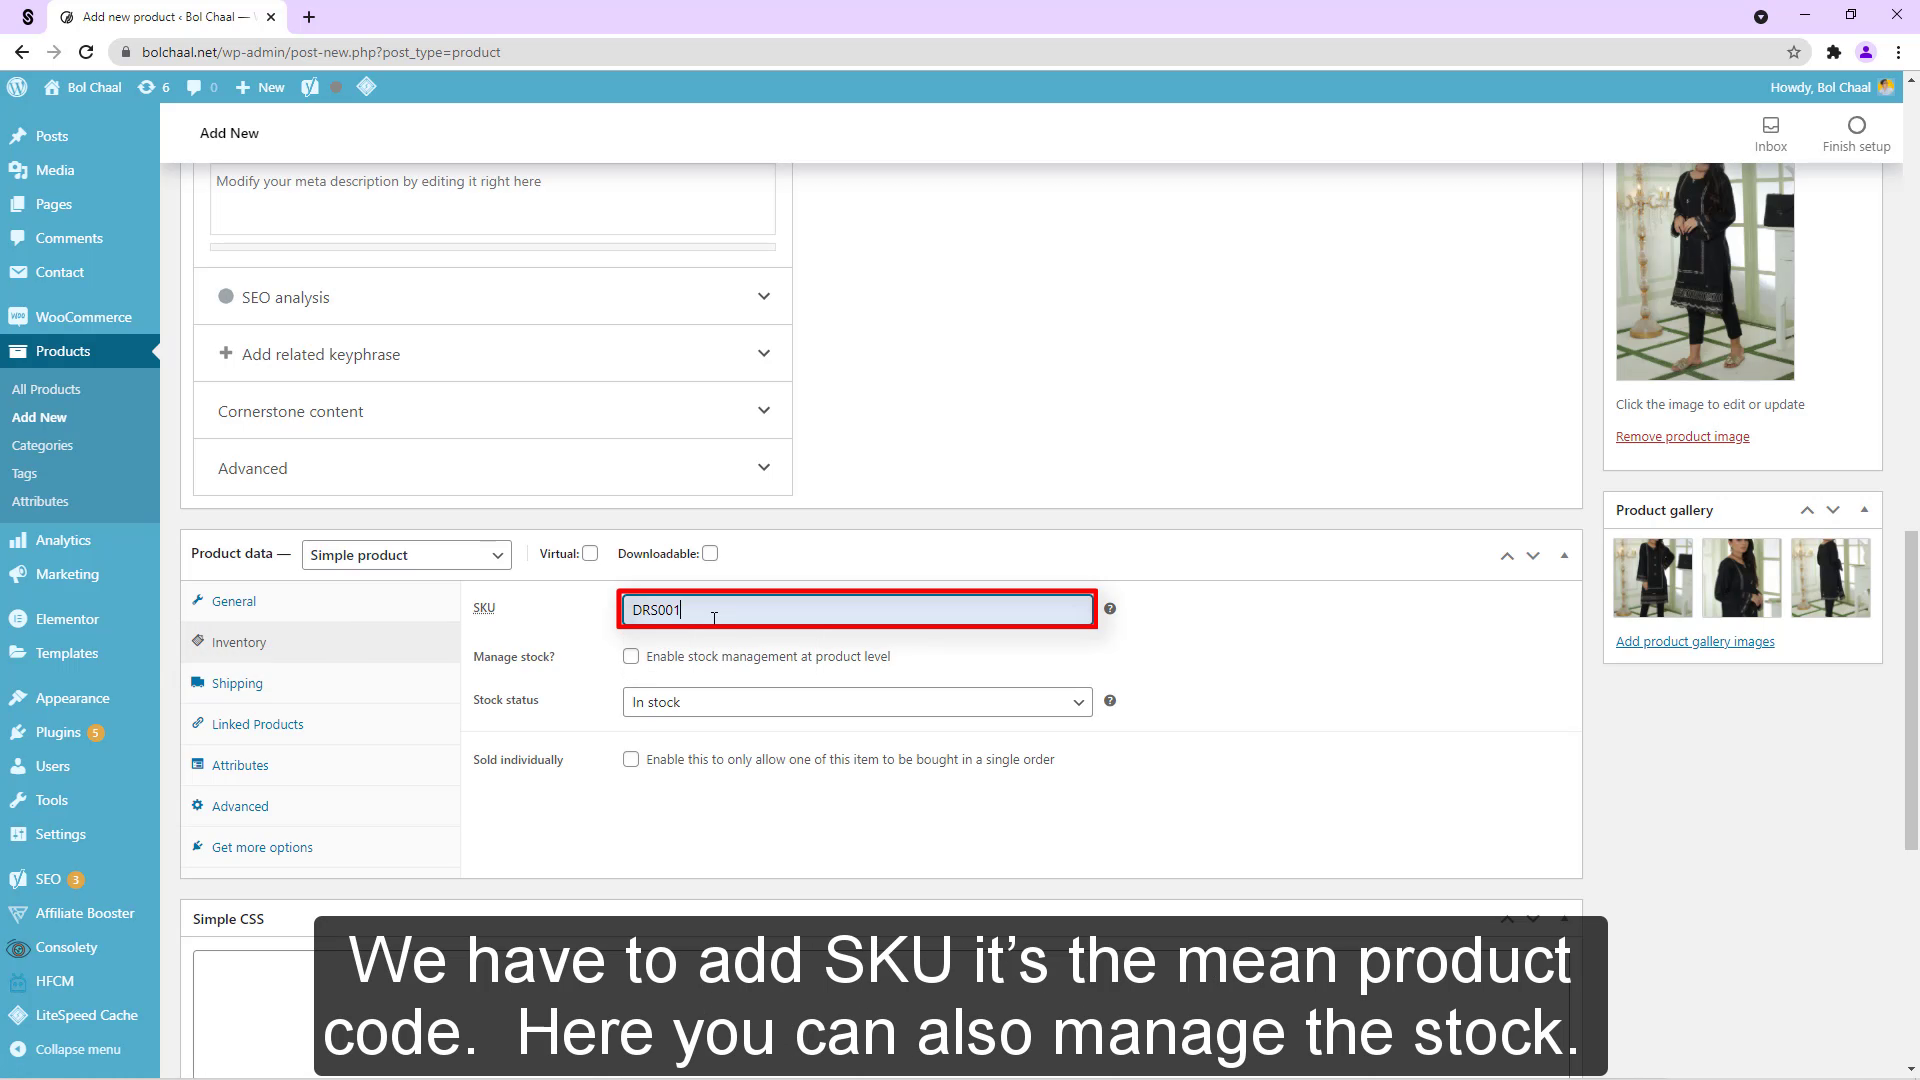
And then here we have to click on the inventory section. We have to add SKU it’s the mean product code. Here you can also manage the stock.
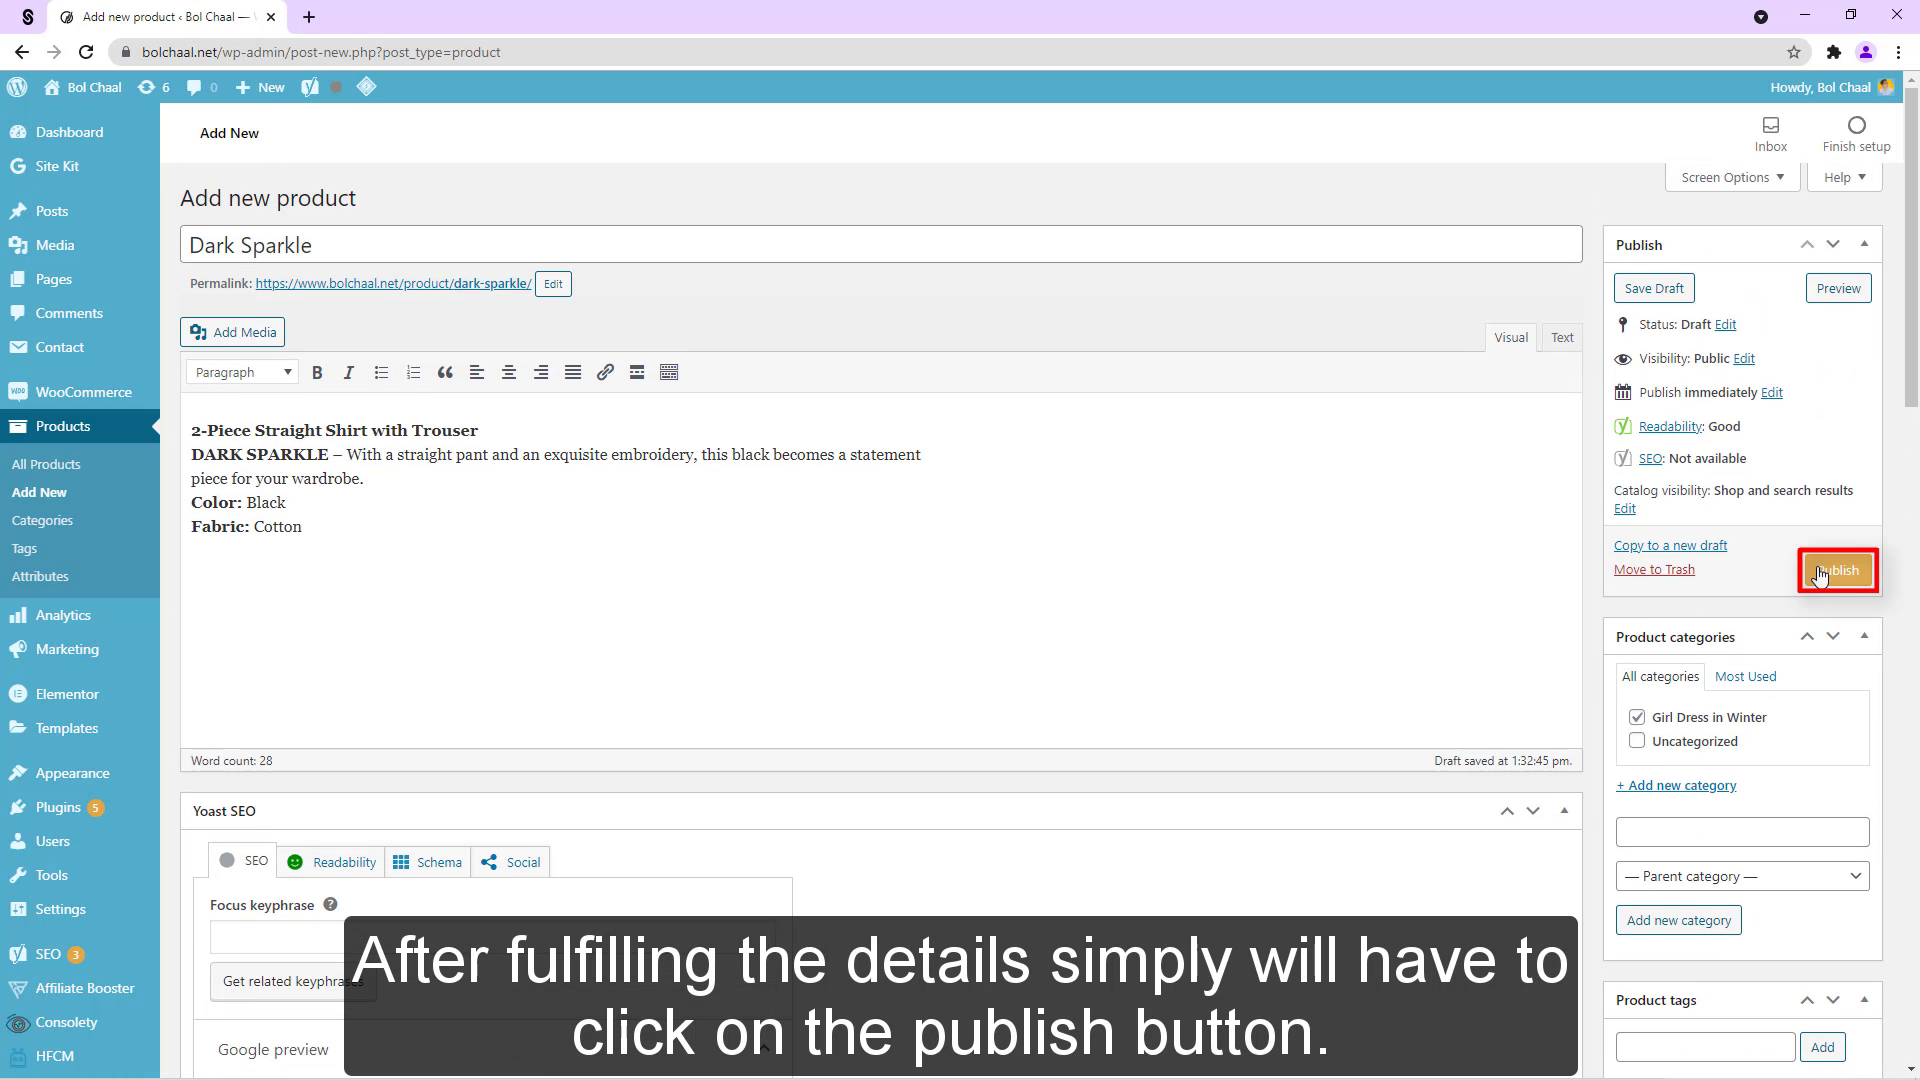
Simply scroll down and here we have to add the short description. After fulfilling the details simply will have to click on the publish button.
You can see your product by clicking on the view product button. So your products have been added successfully.