Follow the instructions below on How to configure the Facebook Pixel in WordPress?
First of all, open your browser. After that, we have to search Facebook ads manager. Now we have to click on the first link.
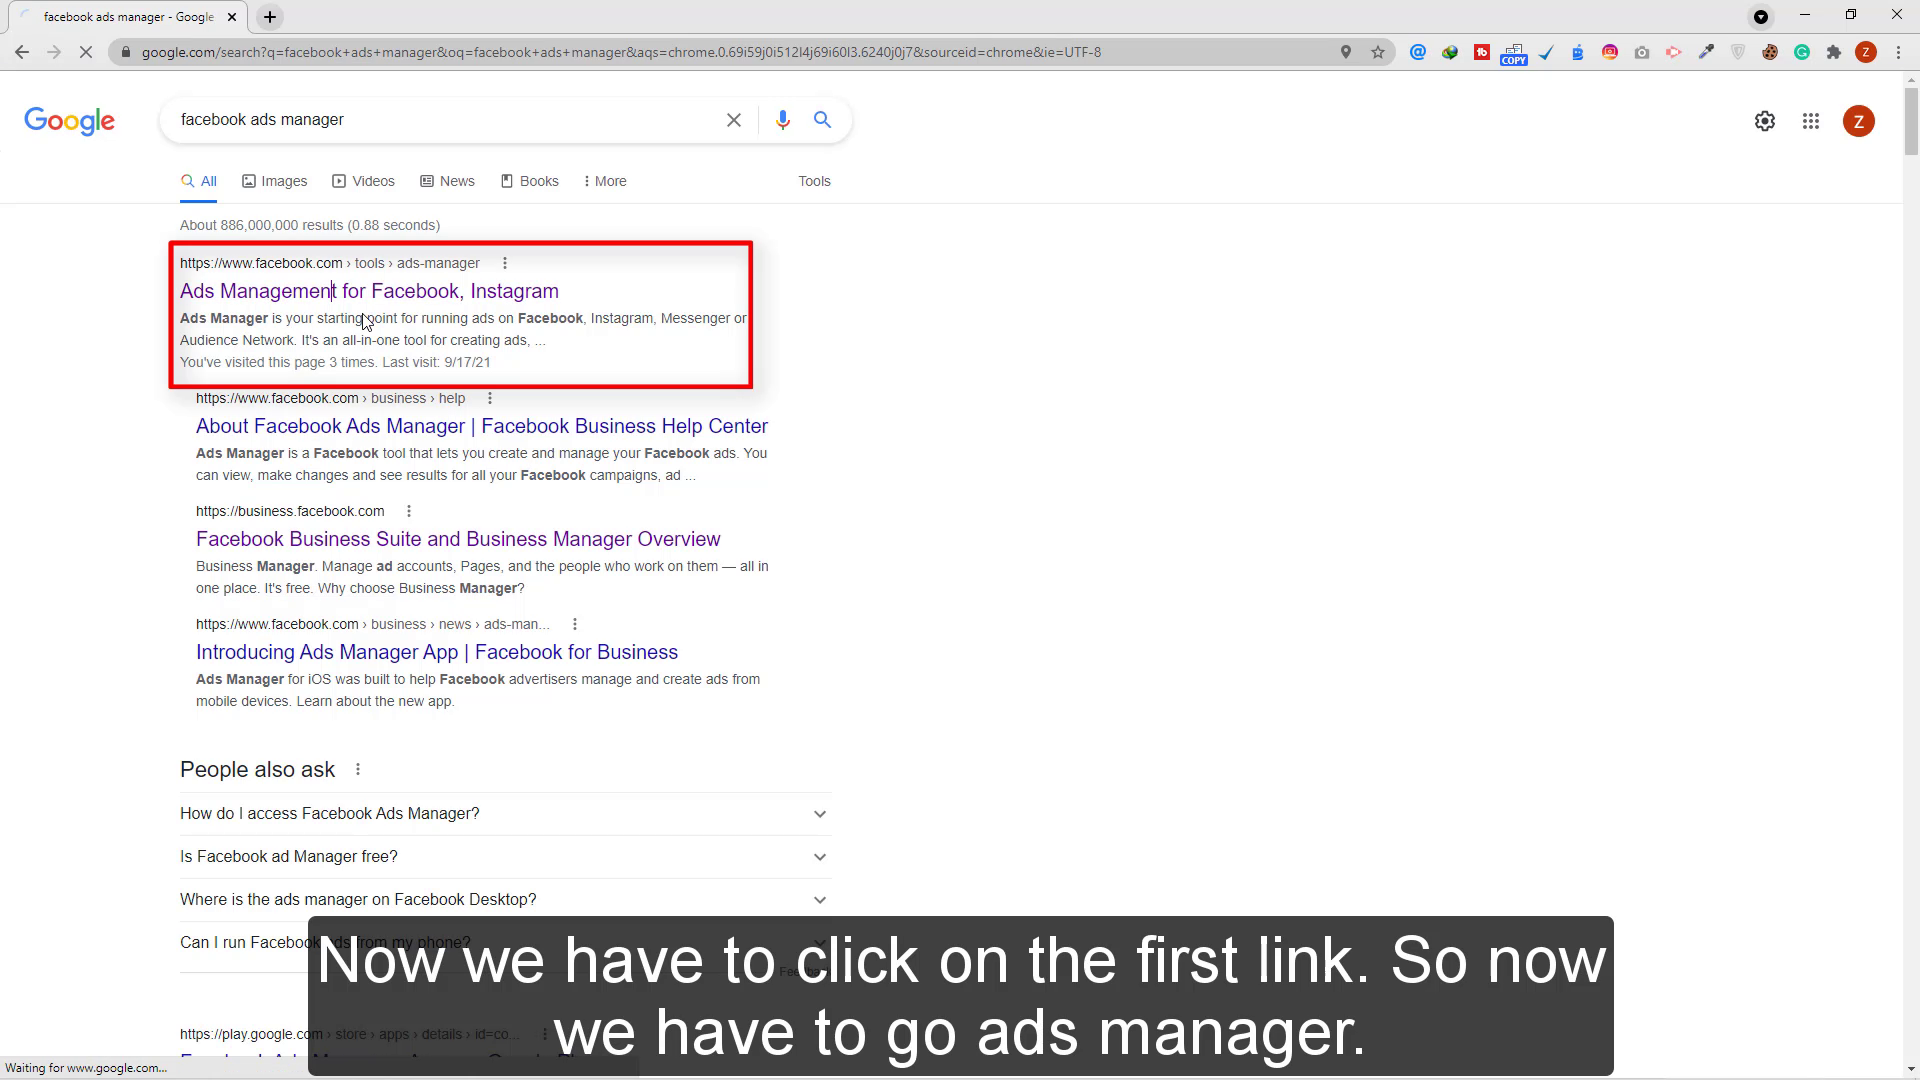
So now we have to go ads manager.
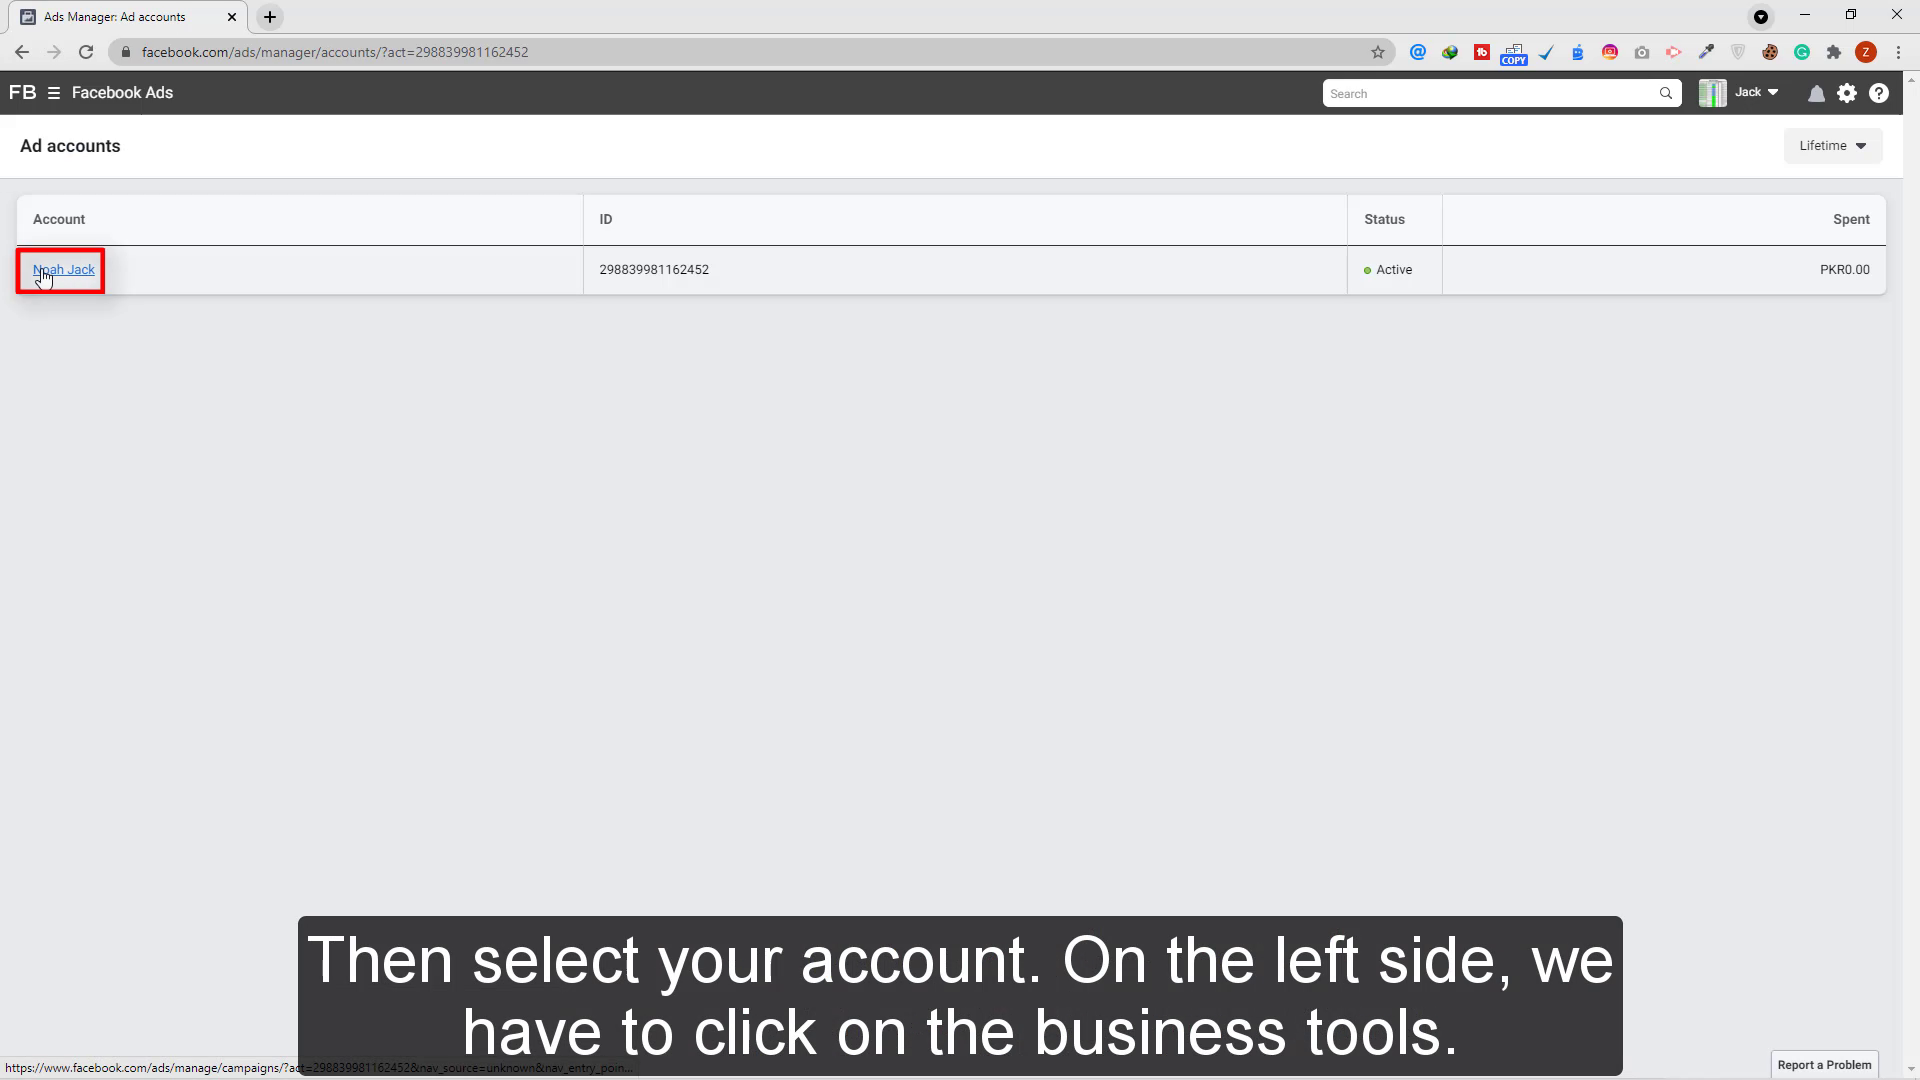
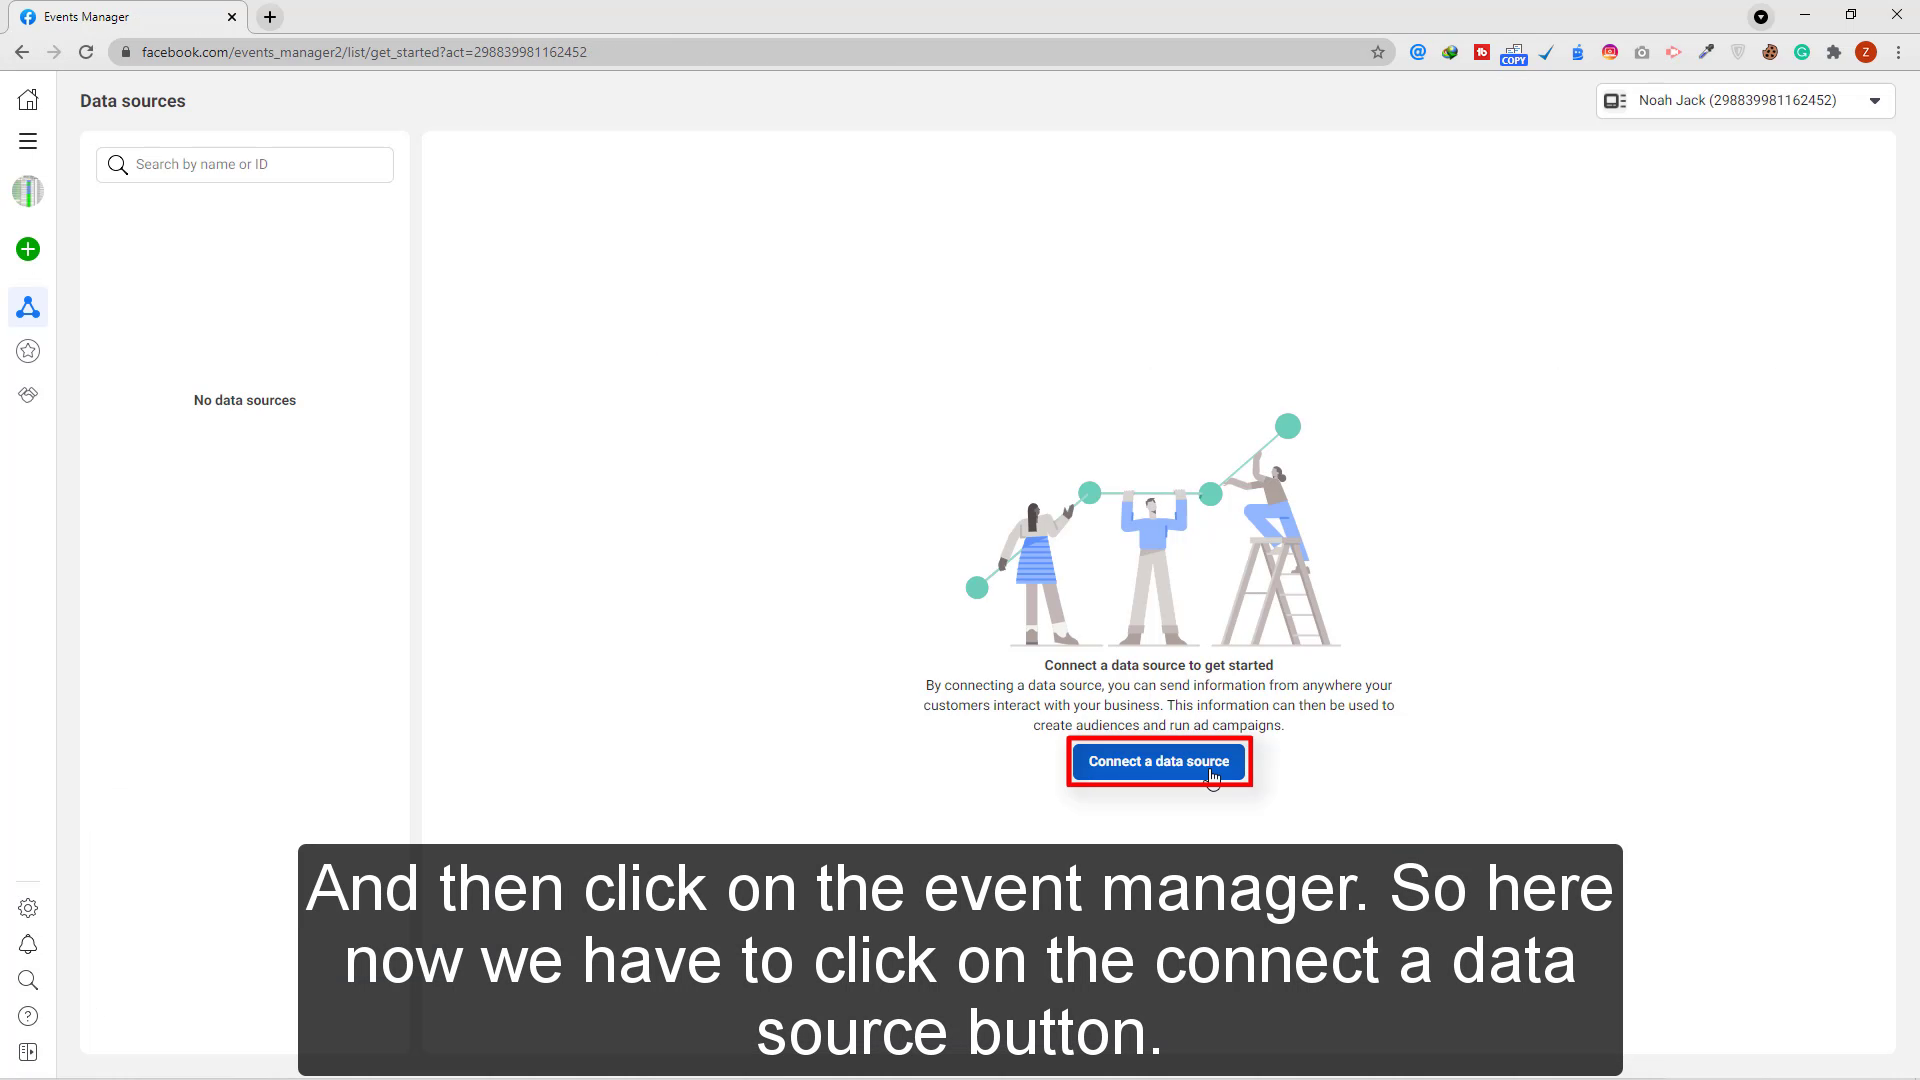
On the left side, we have to click on the business tools. And then click on the event manager. So here now we have to click on the connect a data source button.
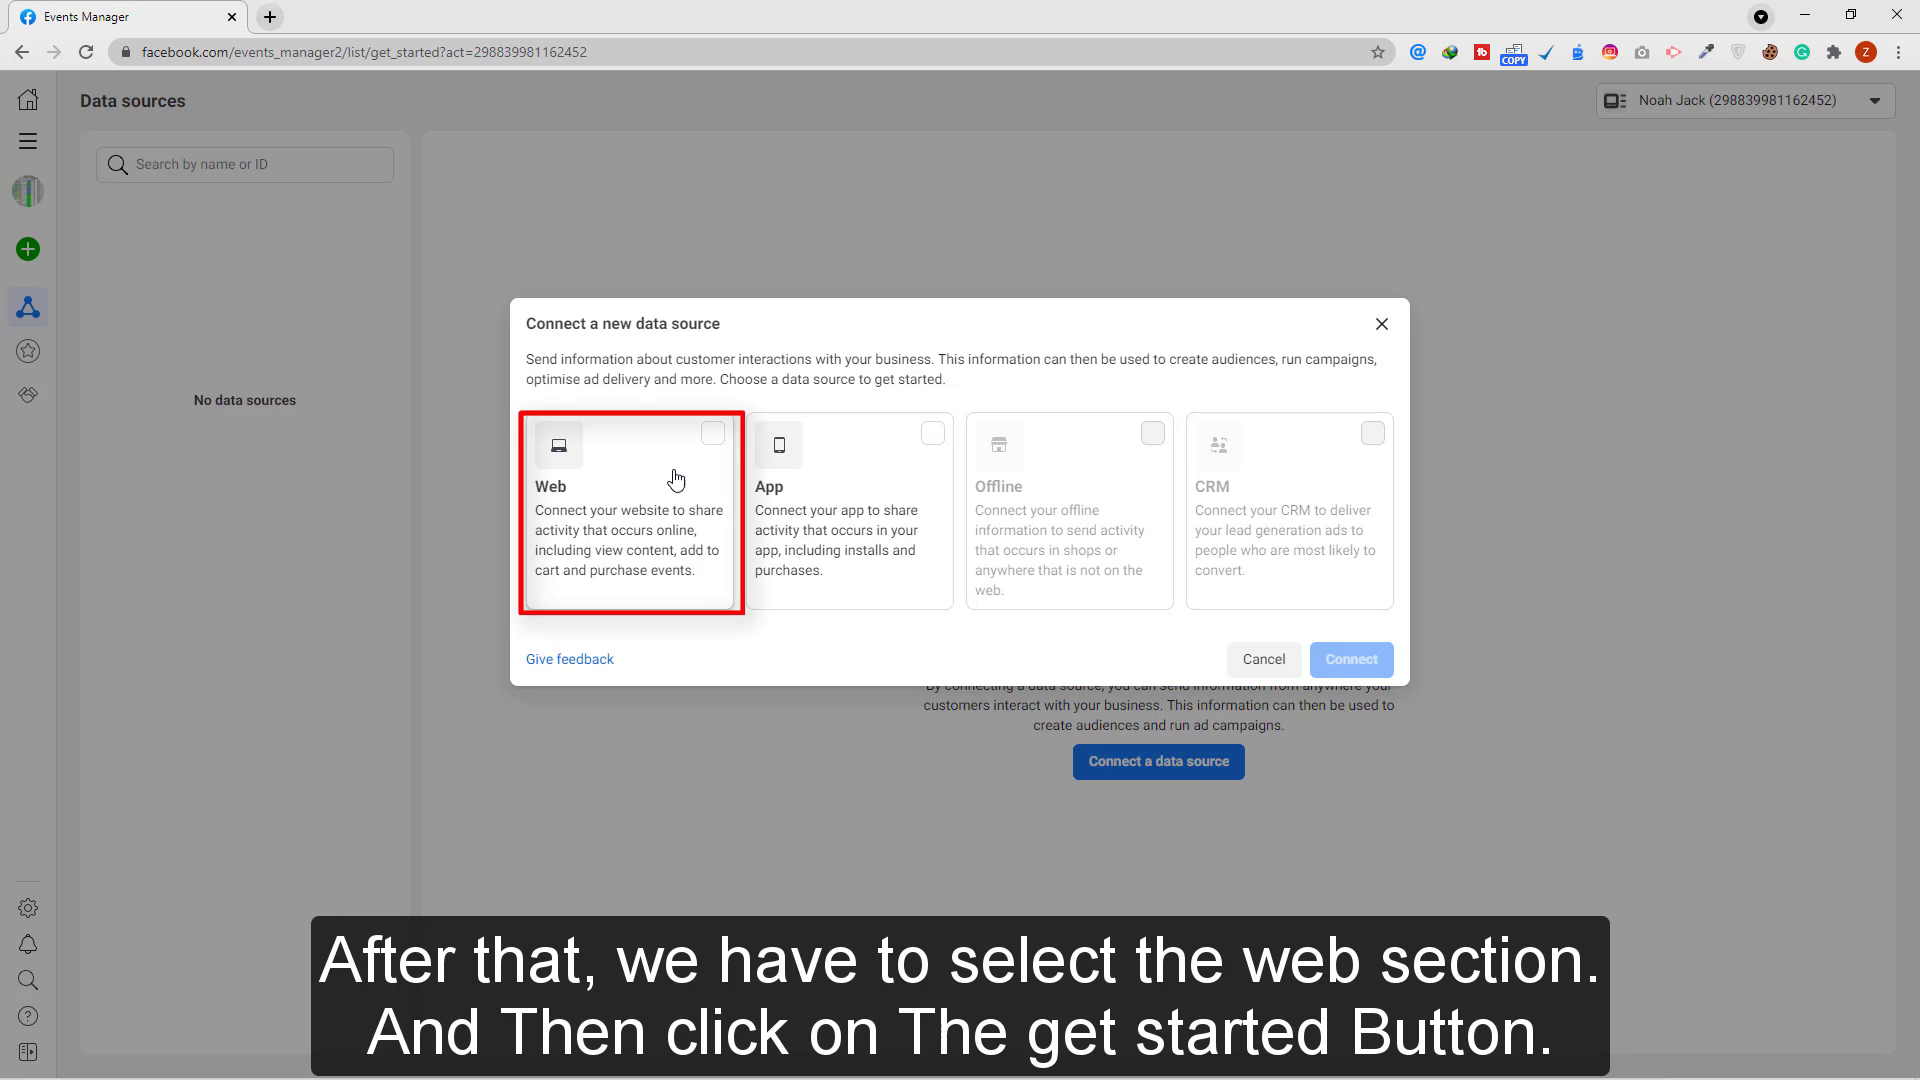
After that, we have to select the web section. And Then click on The get started Button.
So here now we have to choose the Facebook pixel section and connect button. Now here we have to enter our Pixel name and website URL. But the website URL is not compulsory it is optional. Then Now we have to click on the continue button.
![]()
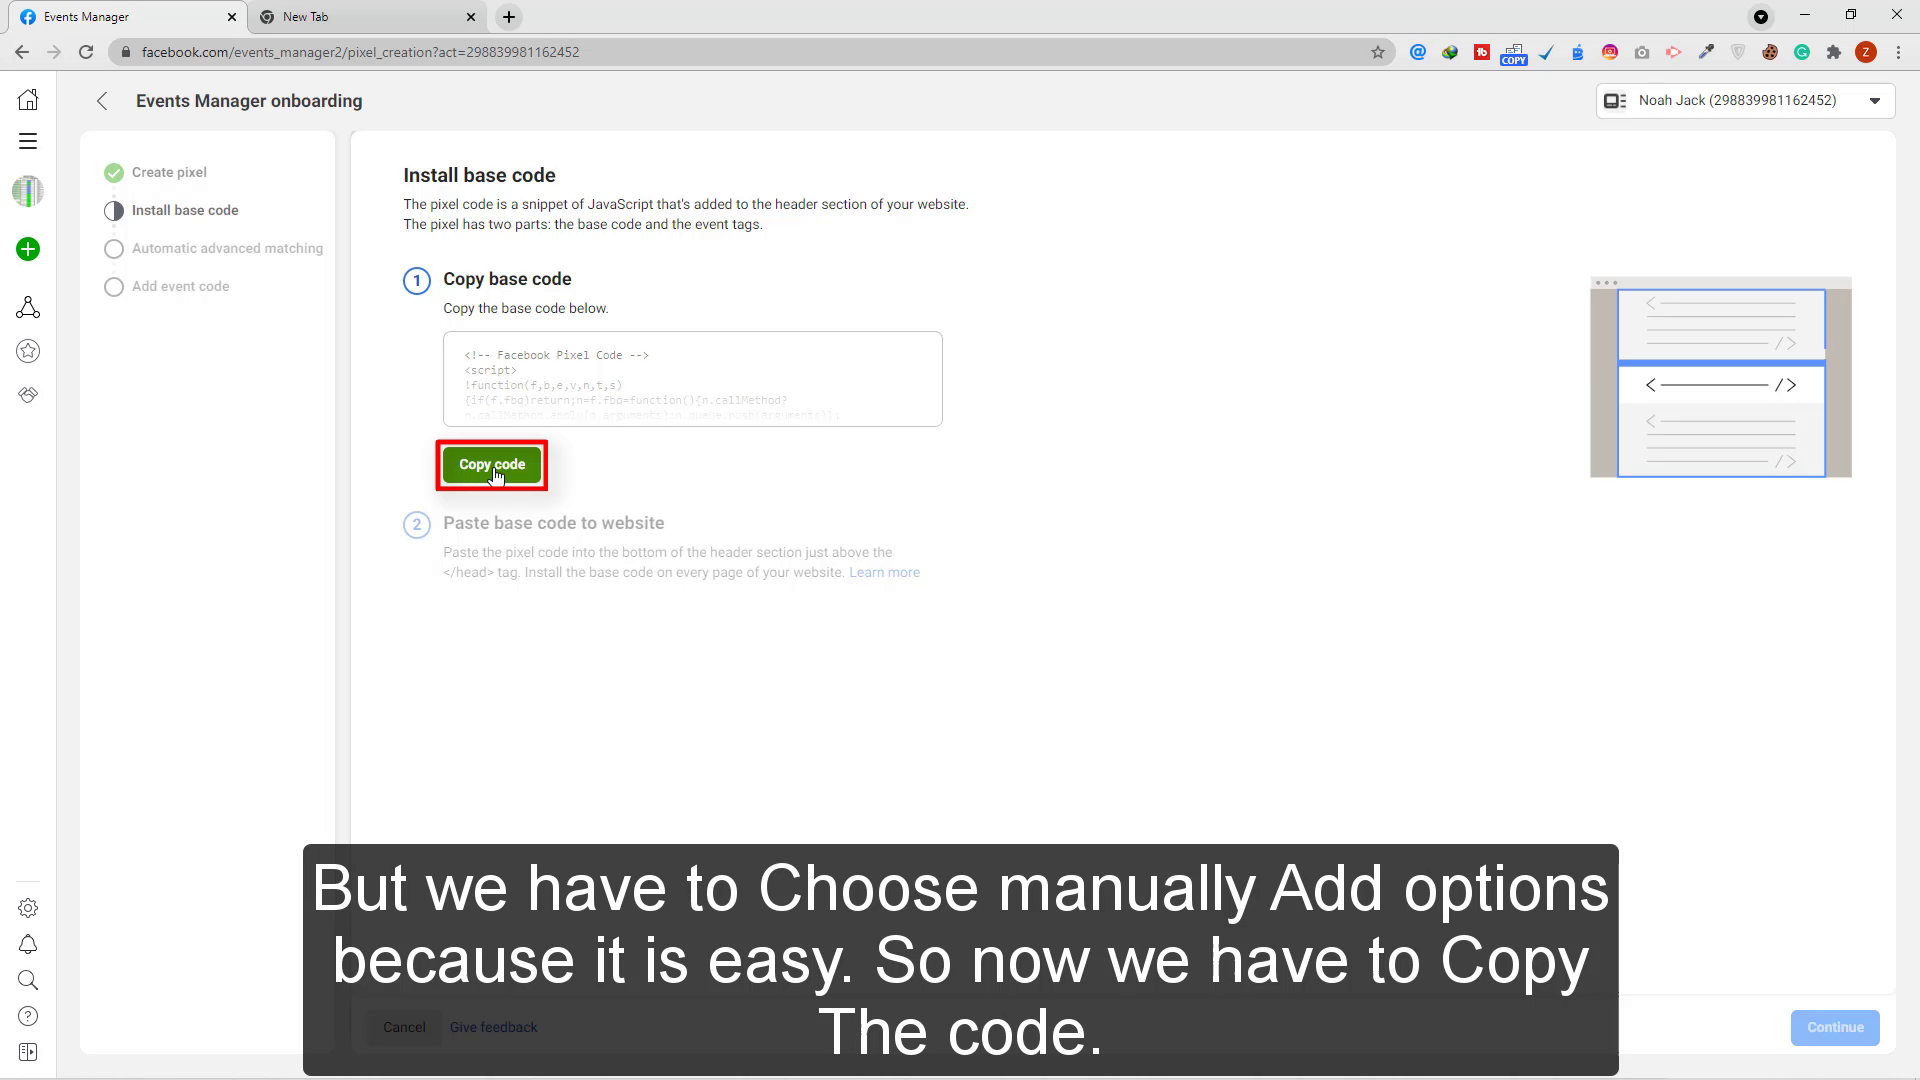
Here you have Two options But we have to Choose manually Add options because it is easy. So now we have to Copy The code.
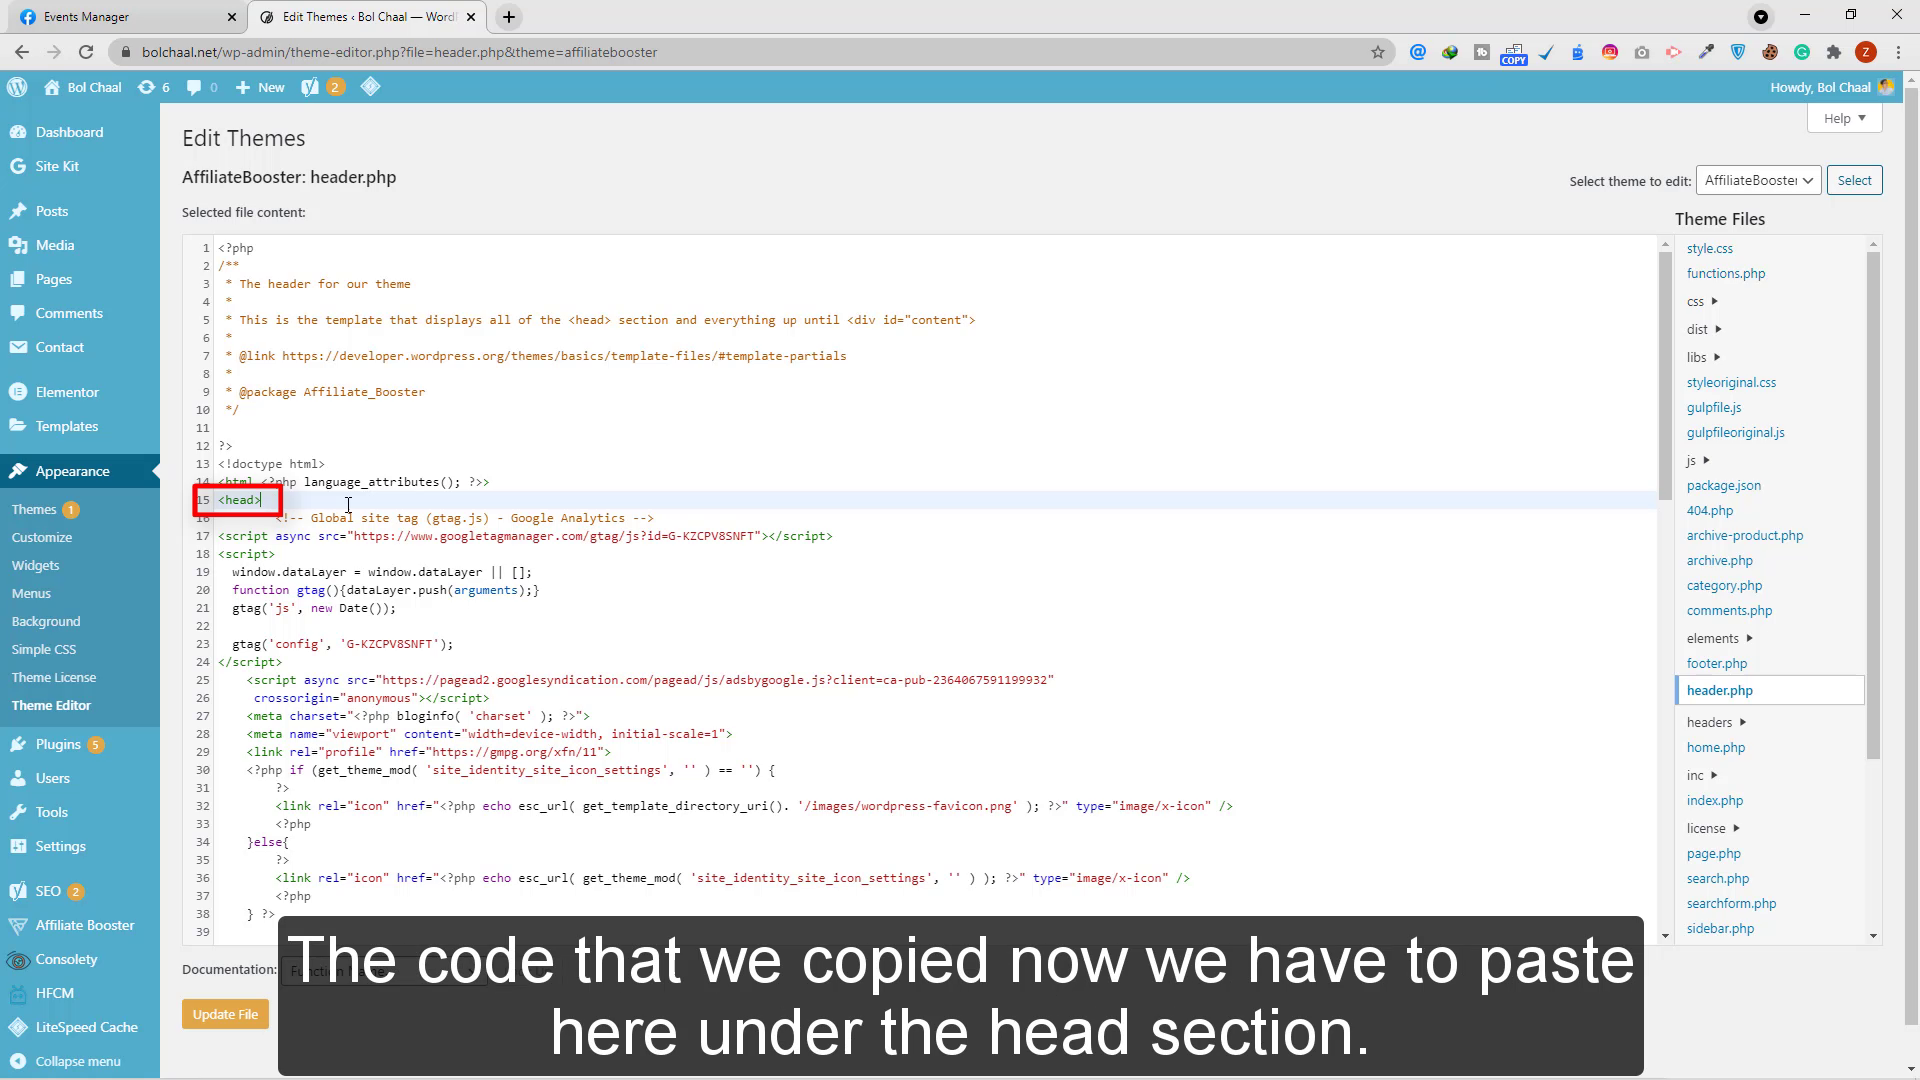
And open our WordPress dashboard. On the left side, we have to click on the Appearance button. and Now Simply we have to click on the theme editor button. On the right side, we have to select header.php. Here as you can see the head section. The code that we copied now we have to paste here under the head section. Now simply we have to click on the update file button.
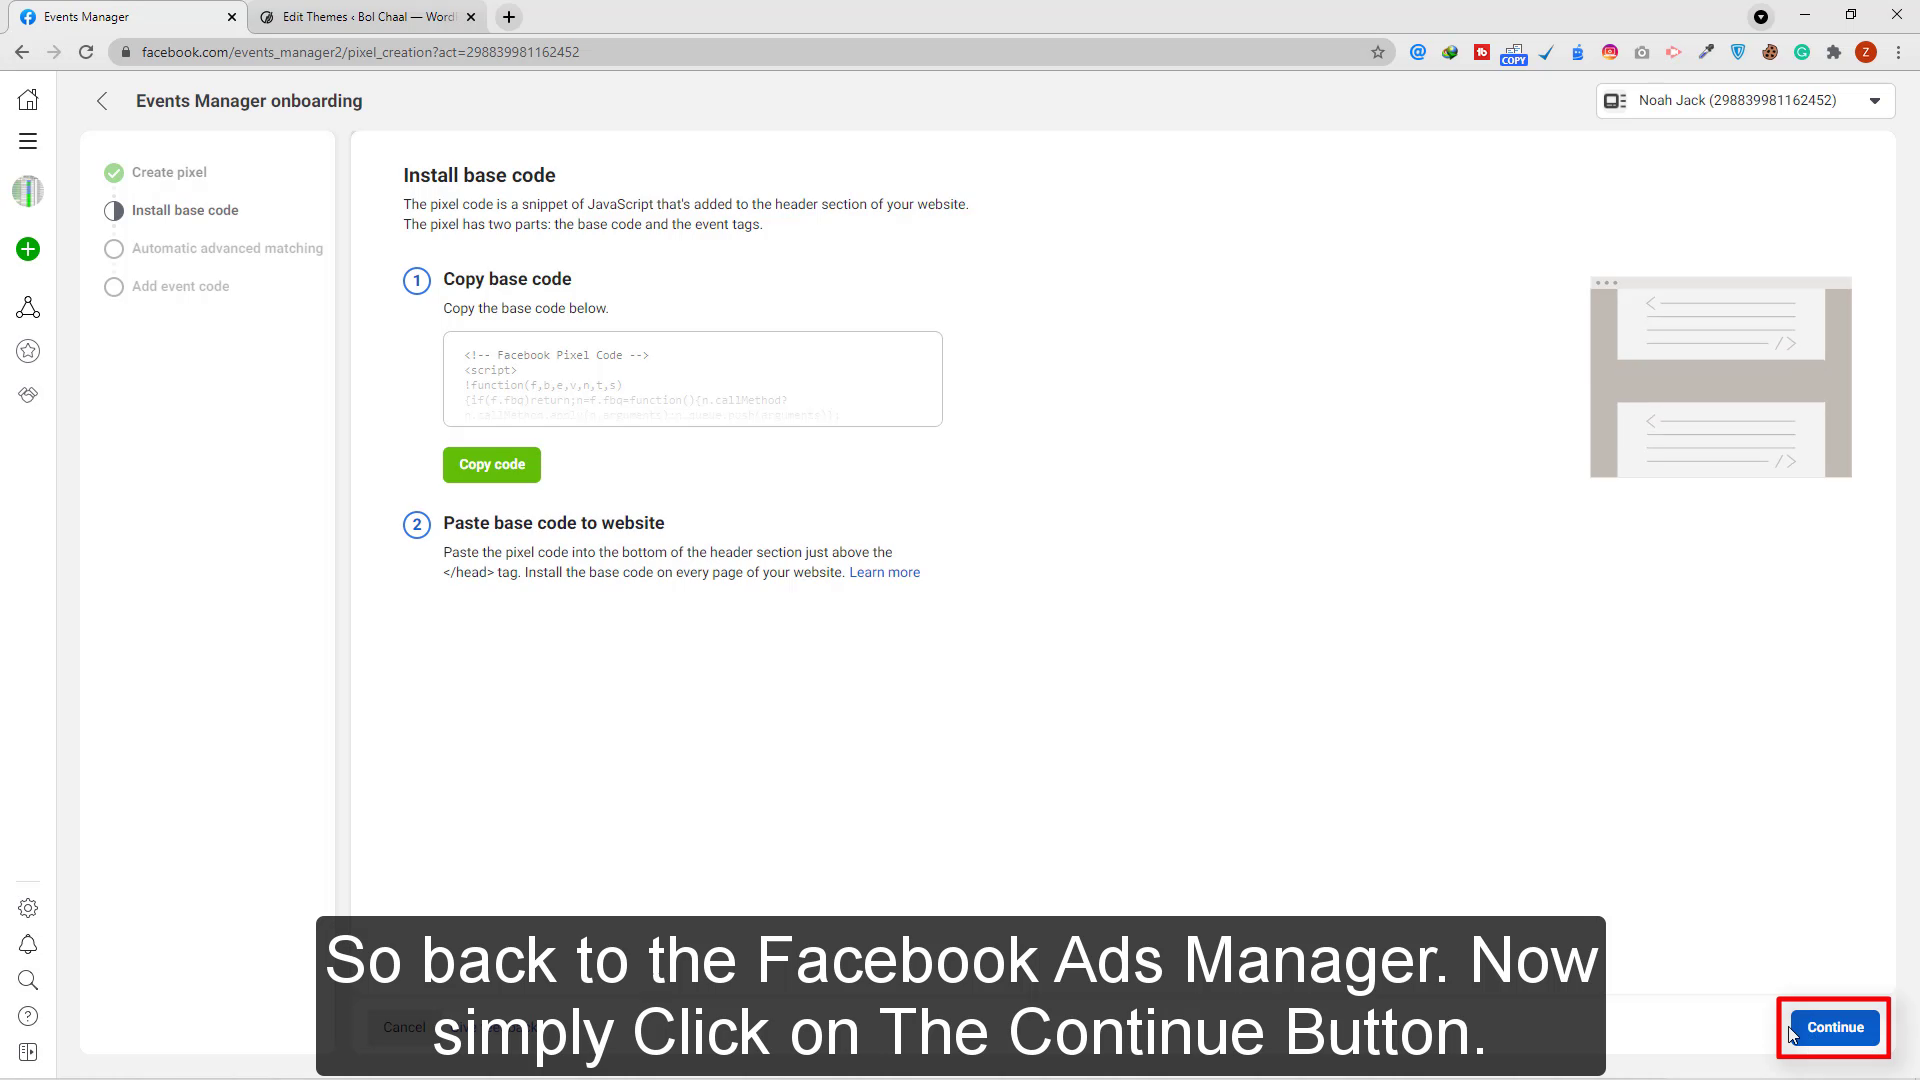
So your Facebook ads code has been added successfully. So back to the Facebook Ads Manager.
So We Have To Turn On Automatic Advanced Matching. So Now Click On Continue Button. Now Finally Successfully configure the Facebook Pixel in WordPress.
![]()
